Home »
Visitor recognition and individual visitor content
Digital backpack for visitors
When I, as a visitor, move through exhibitions with digital exhibits, I often think that I might like additional information on one topic or another or that I would like to take a look at the details at my leisure later. After all, the time in the exhibition is limited and you also want to look at the other exhibits. Likewise, I don’t just want to have information on every topic. Then I could simply look at the exhibition’s website afterwards, if it provides the information. No, it would be nice if I could recapitulate the topics I marked as interesting appropriately. Maybe I have even created very individual content for one or two exhibits in the form of images, texts, or videos that I would like to take a look at again or perhaps save for myself.
“Market research” for operators
If I am the operator of the exhibition, I am of course interested in making my exhibition more interesting through this service. This also gives me important insights as visitors tell me what is interesting and what is not.
For example, as an operator, I can collect statistics on which exhibits are most frequently accessed for additional information and which ones are accessed more rarely. Of course, you have to evaluate this information yourself. Is the topic or product interesting or is the exhibit inconspicuous so that it is little used? This could then be correlated with the basic use of the exhibit and the additional information desired by users.
All important insights for optimizing exhibition and content.
Collect usage data for a better visitor experience
Identify people and visits
Let’s start at the beginning. First of all, visitors need an ID. This means a unique identification.
Basically, the number on the admission ticket would be sufficient (as long as it is unique), but this would be quite inconvenient, since this number would have to be entered at an exhibit. Therefore, two options have been established.
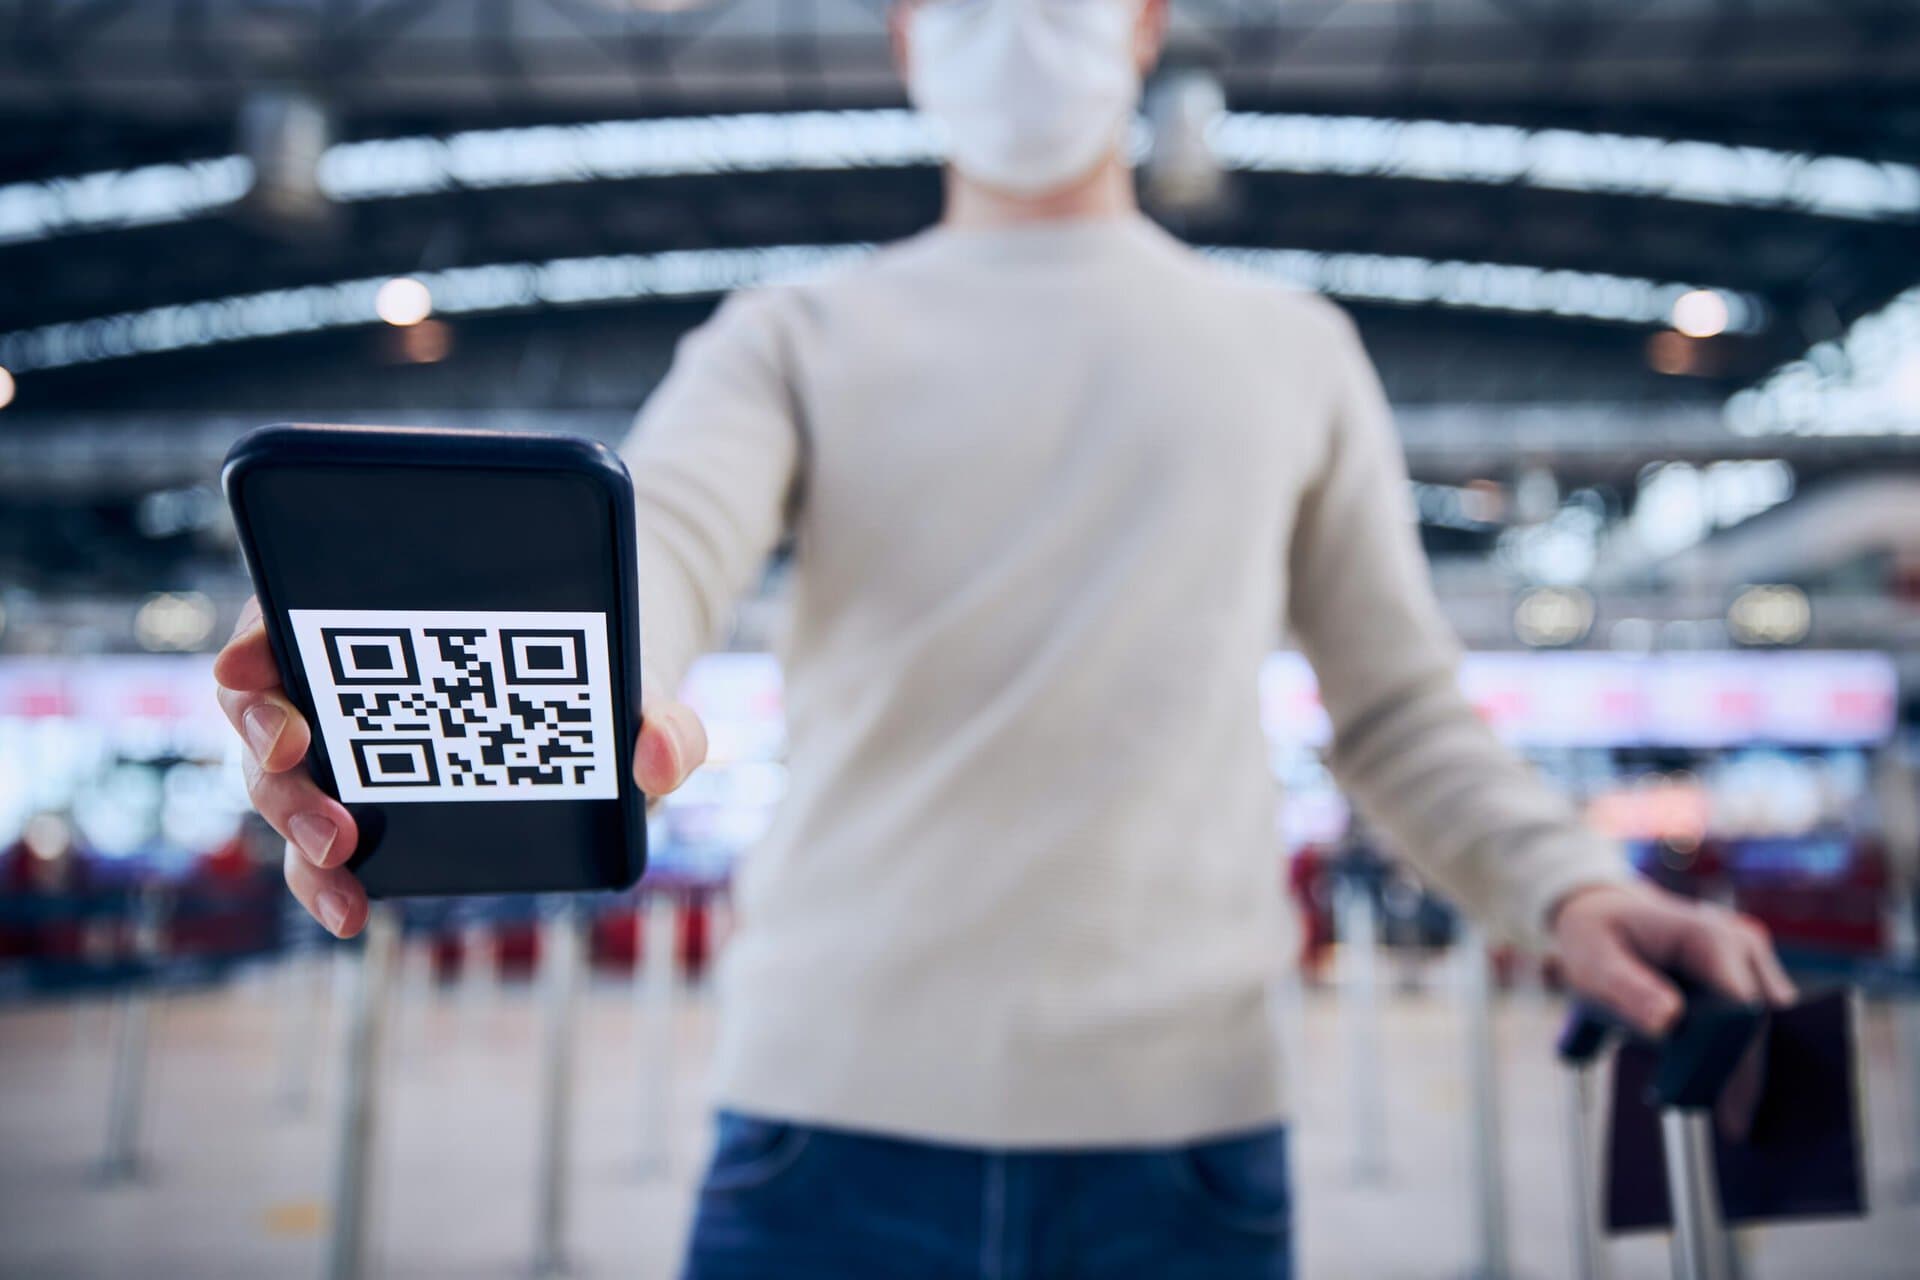
Option 1: QR code
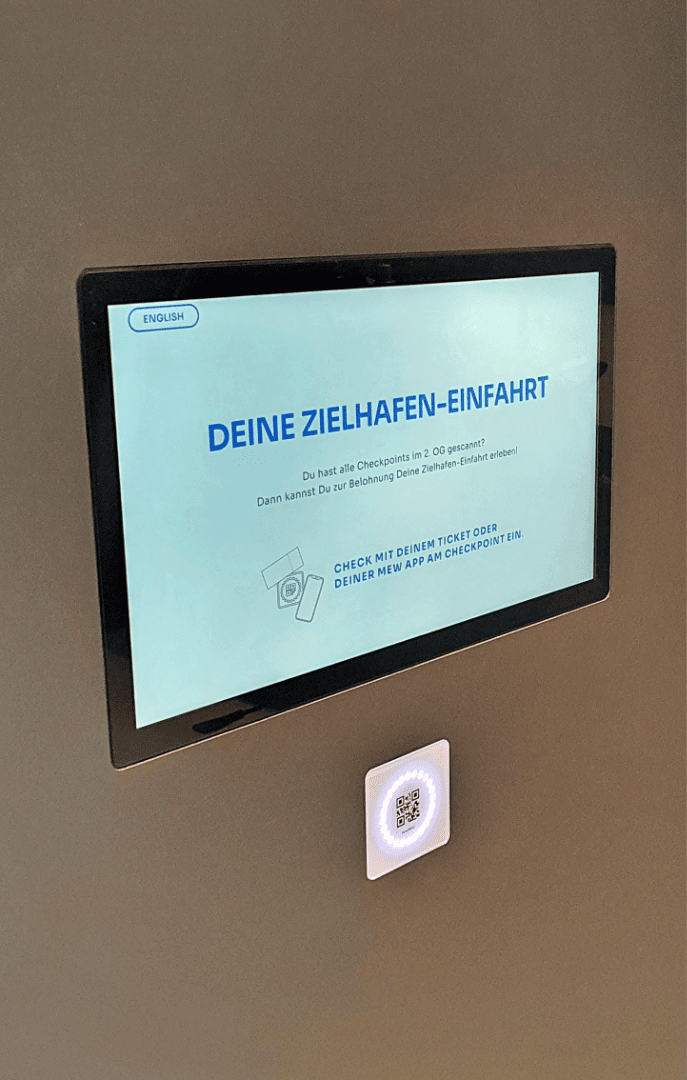
Mobile QR code combined with fixed readers
Mobile app / website combined with QR codes of the exhibits

Option 2: RFID tags
RFID tags can also be integrated into the admission ticket, i.e. they can be paper-thin or issued to visitors in all possible formats, for example as plastic cards, key rings or wristbands, etc.
Care should be taken to ensure that the IDs are only valid from the moment they are issued. In other words: If visitors use an RFID tag on an exhibit, a query should be made via a central API as to whether this is a known ID because RFID tags are found in many devices today. If this is not checked, visitors could also use their key card from the hotel, for example. Theoretically, however, this can also be a deliberate scenario.


MEGA Brewery Exhibition — Spain
Anonymization or personalization? A question of data protection
Link personal information
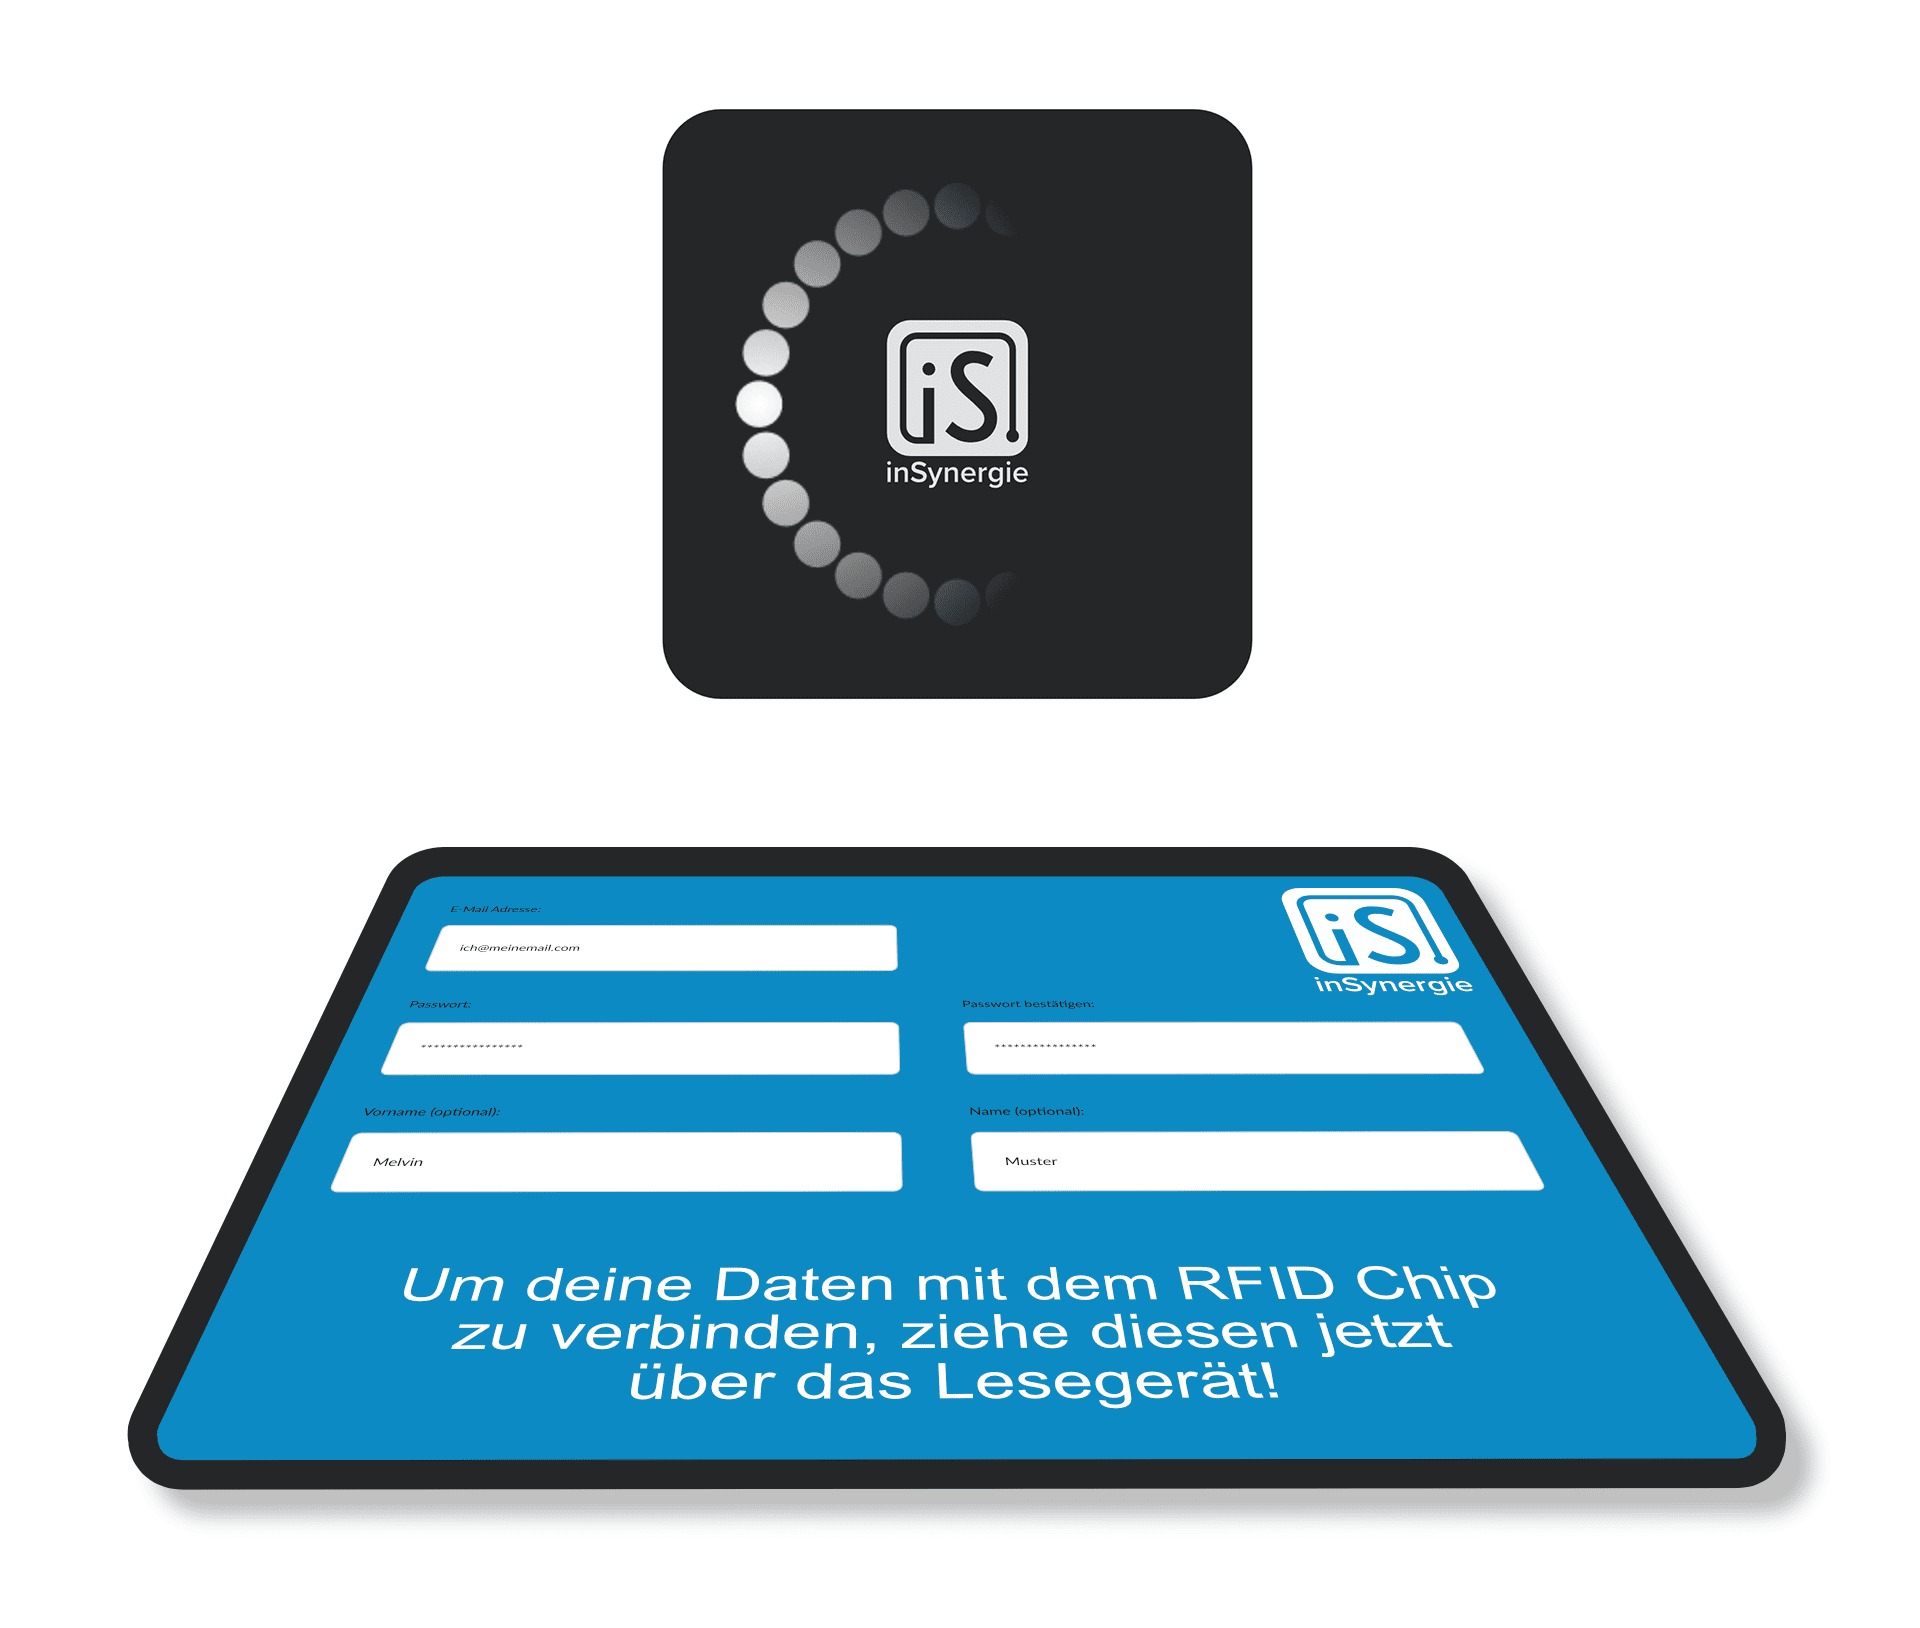
During the assignment process, the ID is enriched with personal data. In the simplest case, this is an email address or a name and password so that visitors* can log in at home via the exhibition site and access the content they have marked. Of course, any data can be assigned in this process.
The assignment is not mandatory. As long as the ID is only used locally, visitors can use it to move anonymously through the exhibition and collect information. However, the content can then only be viewed locally, i.e. in the exhibition.
There are several ways to assign an ID.
Possibility 1:
Once visitors have received their ID, they can register themselves at a terminal and add data via an interface. The data is stored centrally and an exhibit can access the data via an API as necessary, for example, to greet visitors by name or to adjust the depth of information accordingly for children or adults.
Technically, it is also possible for visitors to log in at a terminal using a Google, Apple, Facebook (etc.) account. This makes it very easy for visitors to log in from home and access content.
However, this is a technically complex solution, as it requires an OpenID Connect provider to handle the registration at the exhibition.

Possibility 2:
The exhibition operators themselves connect the additional data with the ID, for example at the entrance or the cash desk. To do this, visitors must agree to the data protection user agreement in advance.
Since it is cumbersome and, depending on the information, questionable in terms of data protection law, the operators themselves usually do not ask verbally for the data, but ratherconnect already existing data of the visitors with the ID. The data itself may have already been created in advance: either by the visitors themselves, by means of registration via a website, or in the case of corporate exhibitions and showrooms often also by people from sales/marketing via a CMS.
Procedure
The assignment does not necessarily have to happen at the beginning of the visit. Visitors can also first “collect” content anonymously and, if they are interested, i.e. if they want to use the content after visiting the exhibition, assign the ID to the respective login data.
“I would like to collect my personal content during the visit
and look at it later in peace.”
“Collect” content
The applications on the exhibits are completely autonomic. The moment the exhibit software offers visitors to put content such as images, PDF, videos, text, etc. into the “backpack”, it communicates this to the server via an API. The server then activates the reader.
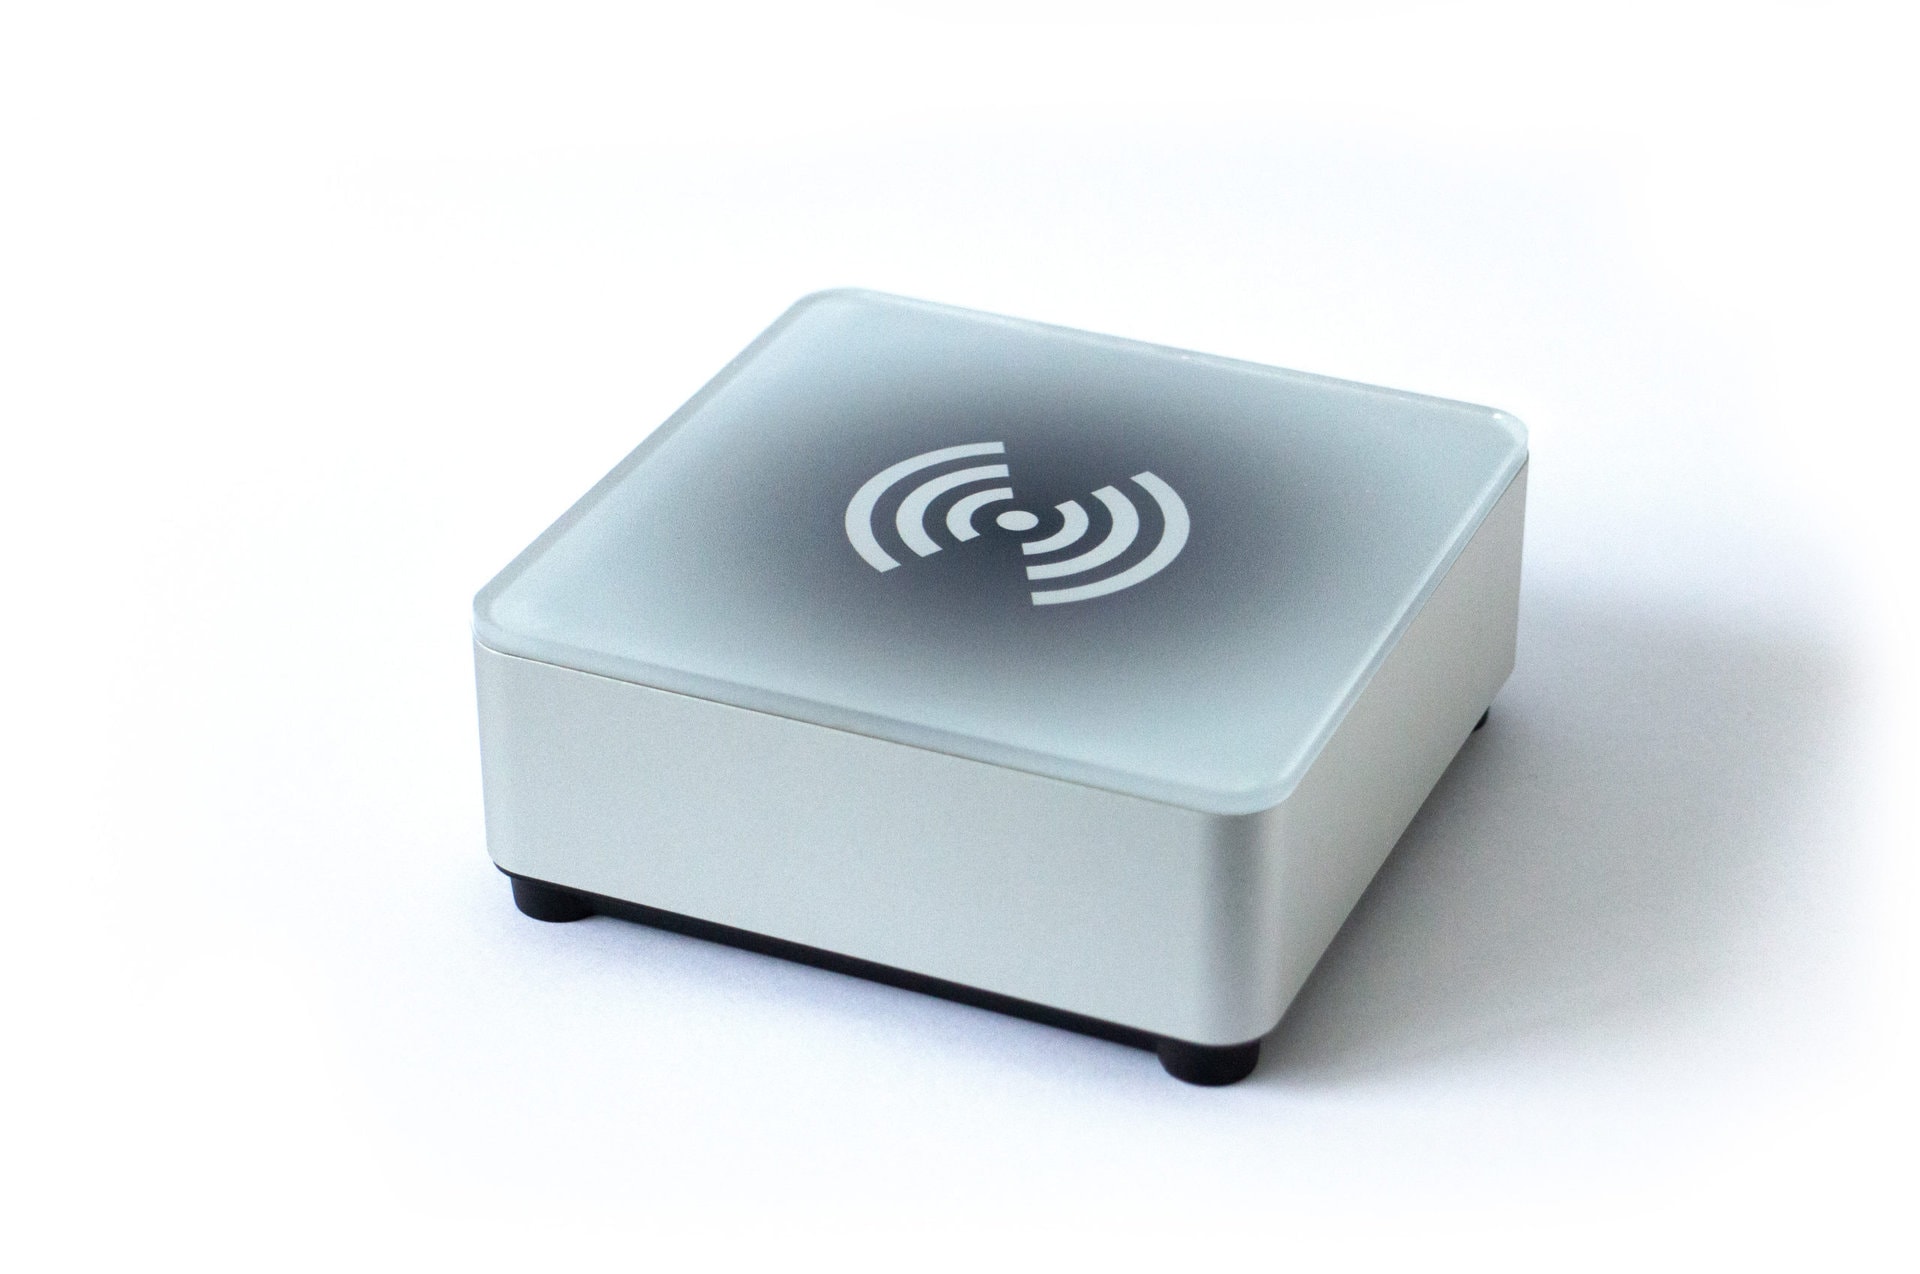
Since it may not be clear to visitors what to do at that moment, it makes sense for the reader to give a visual feedback. In the case of the inSynergie RFID readers, these are 24 LEDs that can change color or display a movement pattern.
After visitors briefly hold their RFID tag to the reader, the server checks whether the ID is valid and informs the exhibit of this via the API.
The exhibit then tells the server what content should be assigned to the visitors.
To ensure a consistent appearance, the API offers additional functions, such as querying texts. This means that the text displayed by the exhibit in different situations can be defined centrally. For example: “Please swipe your RFID bracelet over the reader now” or “Use your card now”.
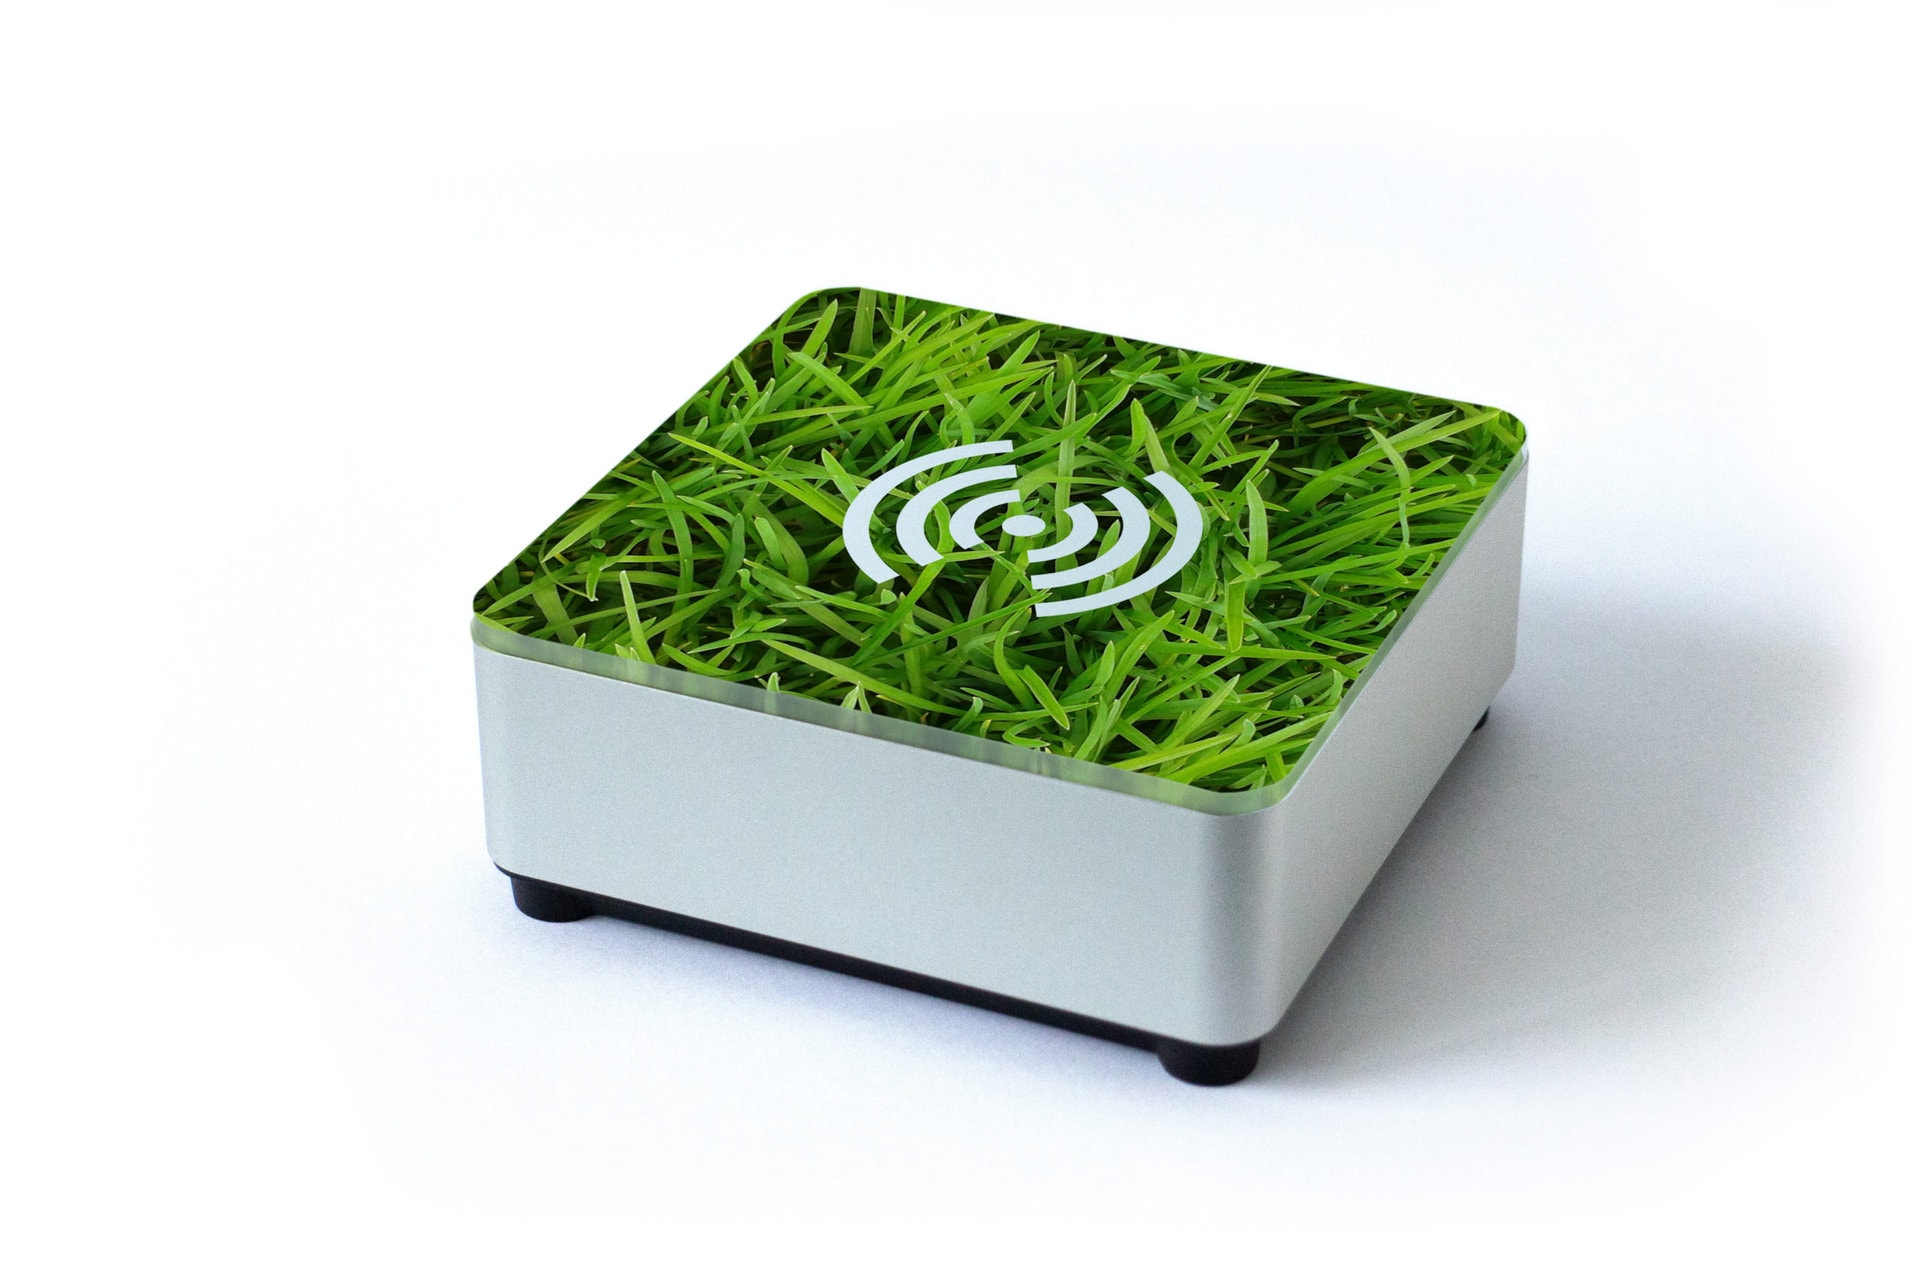
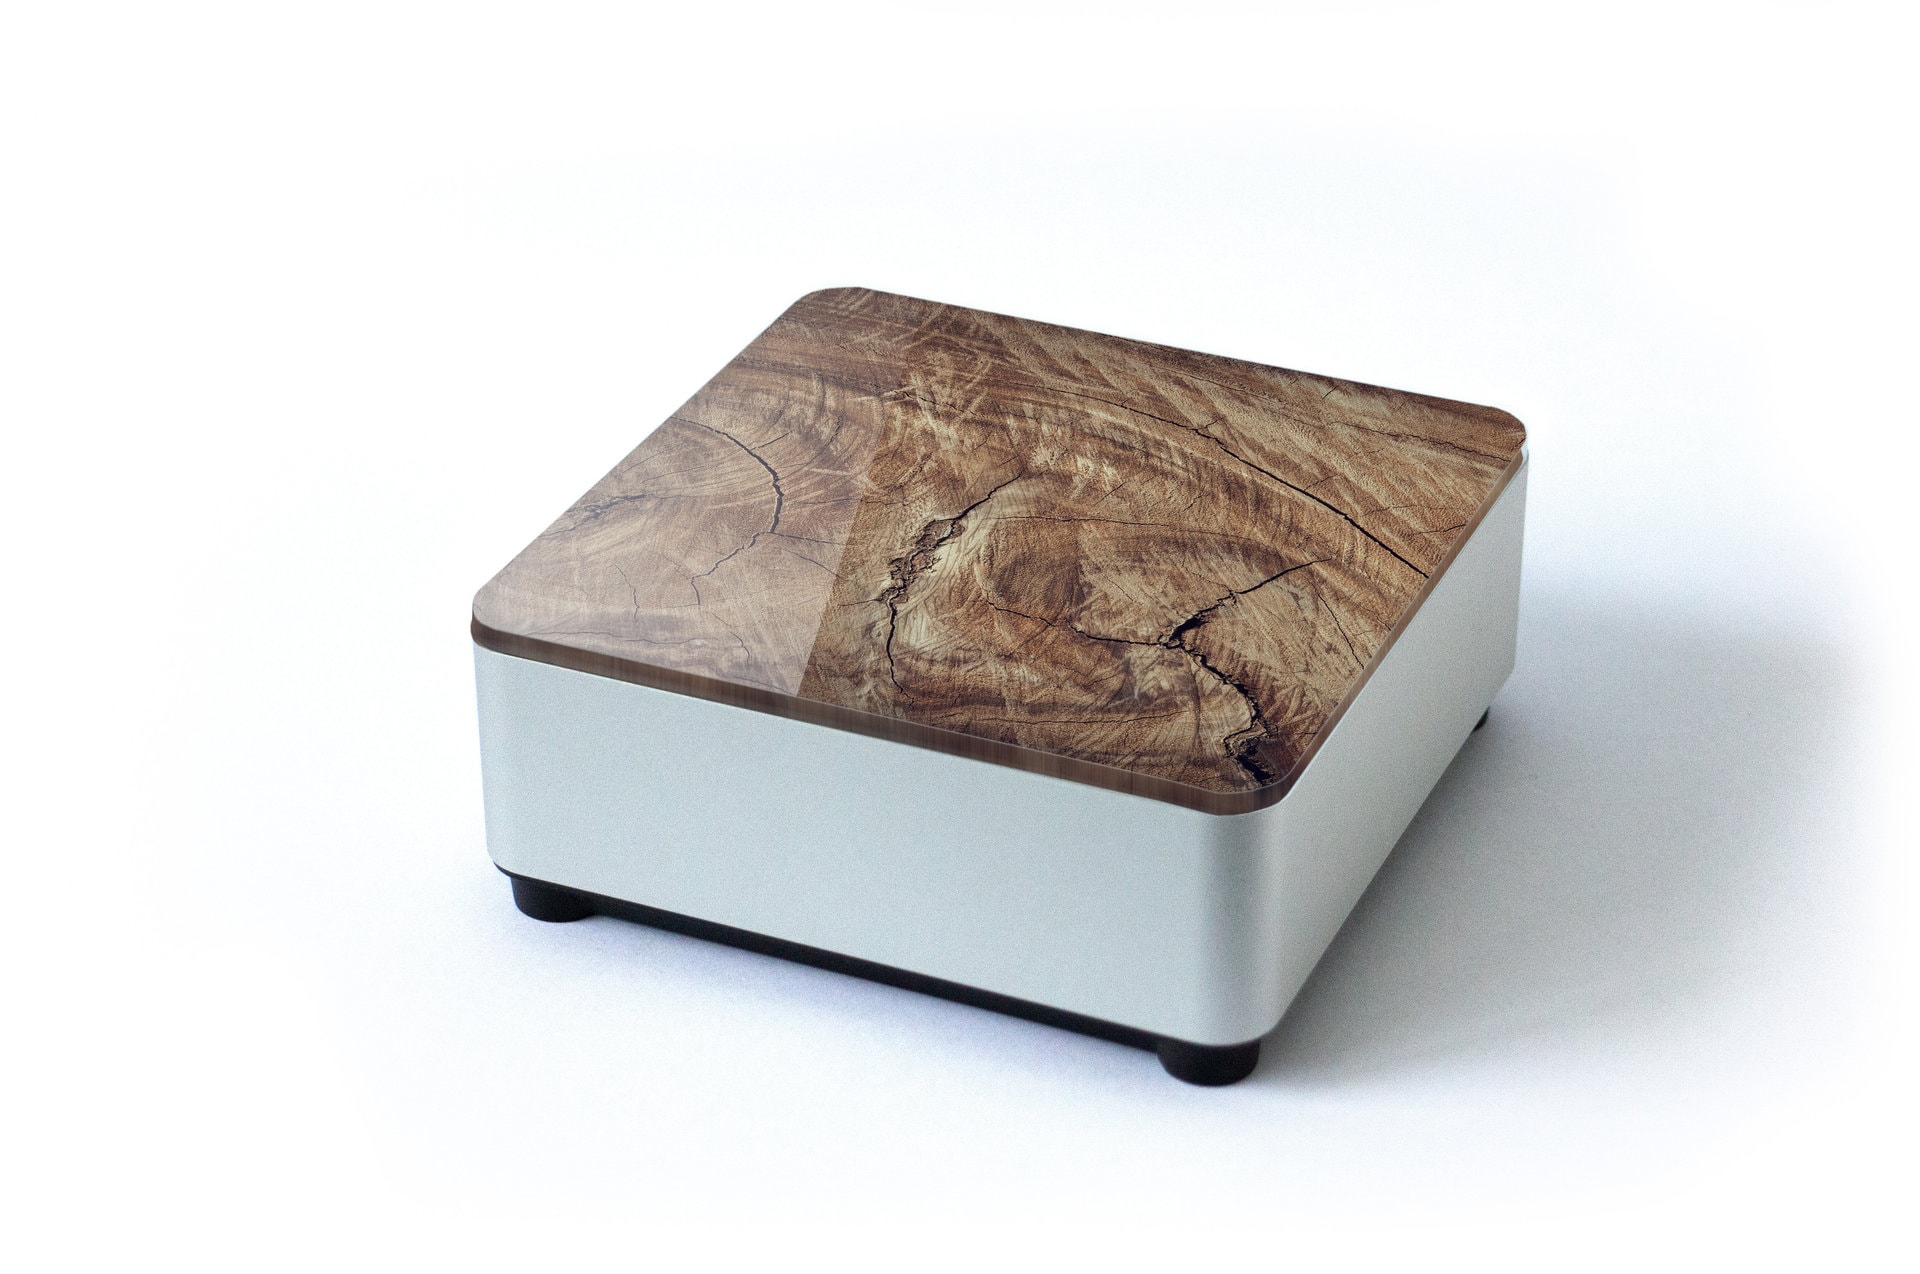
inSynergie RFID readers with individual surfaces and for various installation situations
Access the content
A distinction must be made, from where the visitors want to access their content.
On the one hand, from a device within the exhibition orwithin the exhibition IT, for example from a special terminal in the exhibition building. Here the visitors can also log in directly with their physical ID (i.e. RFID or QR-code) and view their content.
On the other hand, the second option, which certainly requires more care implementing, access from personal devices that are not part of the internal IT system . For this purpose, it is advisable to create a web page for access, for example in the form of a microsite.
Of course, visitors can still be inside the exhibition if, for example, they want to access the Internet via mobile device. This therefore requires the page to be updated in real time.
To enable this access, it is recommended that the pages that visitors wish to access should be hosted via a common internet provider, as otherwise, the exhibition operator would have to operate a publicly accessible HTTP server in the exhibition’s IT.
Since the design of the pages and the various options for data access are very individual, we are happy to offer appropriate individual support, advice and implementation.
As long as visitors to the exhibition have created their access data for the microsite, they can now access the data they have compiled from anywhere. It is also the possible to combine several visits. This means linking the “new” ID with the “old” account on your next visit.
Implementation
With our NeuroomNet product, you can not only conveniently manage general media technology in exhibitions, but NeuroomNet additionally offers many functions to integrate a visitor management:
- Provision of exhibits API
- Provision of the software API
- RFID reader communication
- Flexible media control
Learn more about NeuroomNet’s features
